Showing posts with label tutorials. Show all posts

Friday, August 17, 2012

Alima Pure

testing Alima Pure

R1-08930-0002

R1-08930-0005

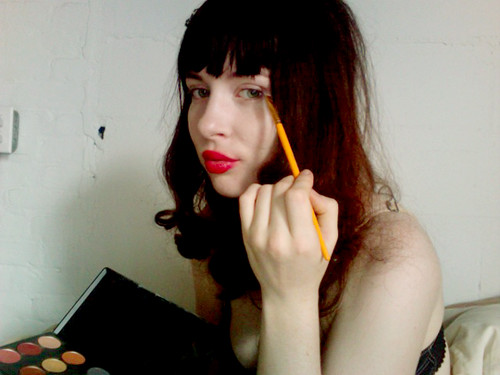
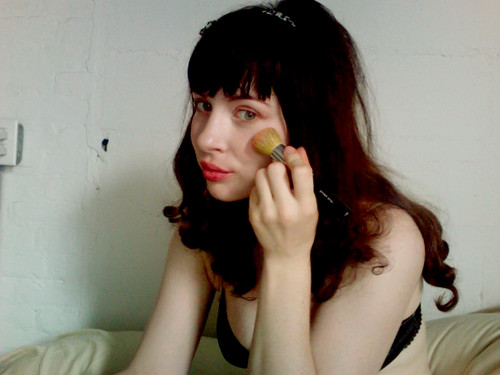
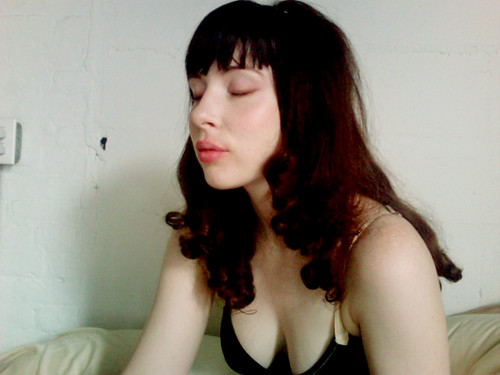
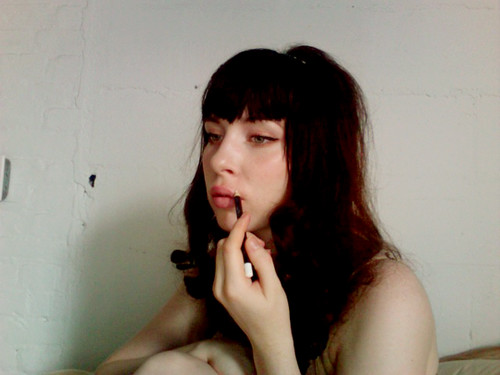
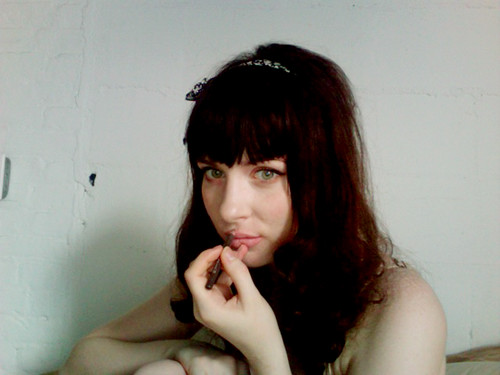
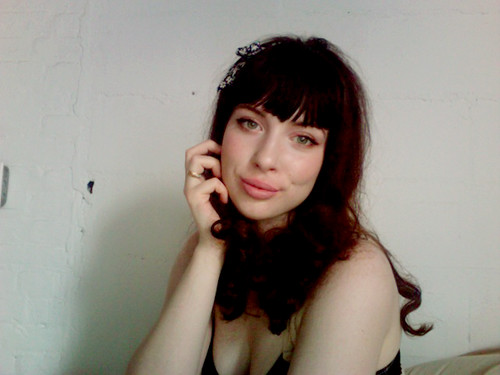
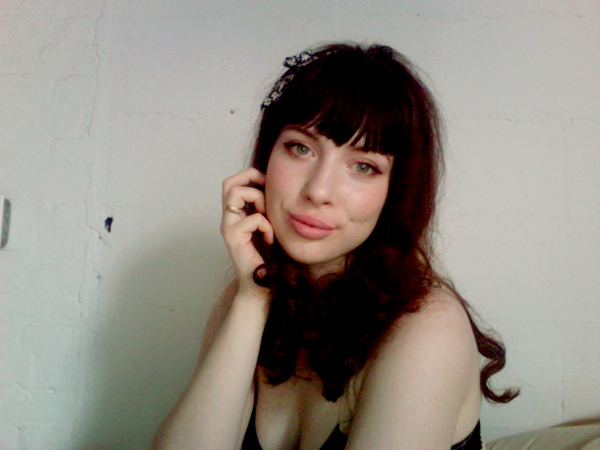
A few weeks ago I recieved a bundle of face goodies from Alima Pure, a cosmetic company that has quickly become my favourite. Their products come in a wonderfully thorough colour palette and their website is chock-full of helpful application tips.

I've put together a little photobooth tutorial after the cut using the make-up they sent and sharing a bit about my personal beauty routine!

Wednesday, August 31, 2011

hair brained

let me braid your hair
For those of you who have expressed interest in learning more about my snooki brain hair I've made a tiny tutorial on the subject here! (I backdated the post because I was embarrassed to have it pop up on the main page lest some stranger stroll along and witness my sorry tutorial skills.)

Still in the midst of blog re-model and apologize if your screen is being harassed by my ginormous everything! In the meantime check out the new (and growing) links page! Am very pleased at finally sitting down and paying some much needed attention to this old blog.

Back soon pals! Here's a mix I made last August 31st. 

Friday, June 26, 2009

FAQ 004

i've received a few emails and comments regarding my make-up application so i thought i would share with you two make-up looks and their steps! long ago in a life before i was a make-up artist and would occasionally instruct people (in the flesh and online) how to apply their own make-up. please feel free to ask any questions regarding your own beauty regime and i will do my best to scrape my memory for answers. 

step 1: naked face! applied evan healy's blue chamomile day moisturizer (heavenly, her whole line is perfect!) then bare minerals powder foundation and brushed my lips with my toothbrush to remove dry skin.
step 2. applied intense red lipstick by make up for ever and used an angle brush (from my paint set, hehe) to dust a light gold shadow at the lash line and beneath corners of my eyes.
step 3. all done! 
look 2!
step 1. applying nars orgasm on the apples of my cheeks in little circular motions. 
step 2. using my dodgy angle brush again to apply a dark brown shadow at my lash line and winging it out a bit so i know where to go with the liquid liner. 
step 3. applied liquid liner starting at the center of my lash line and working out very lightly! i prefer to use a watercolour style liquid liner (where you add the water yourself and apply with a wee brush). next, curling lashes! 
step 4. a sneaky trick to lip enhancement! highlight your pout with a white eyeliner. just a little though so as not to look like a milk advert. 
step 5. another lip tip! shadow your cupids bow very lightly with a pale brown liner or eye shadow.

naked day

Friday, August 11, 2006

on backcombing your hair


Over the (many) years of blogging I've had numerous questions regarding my big brain hair styling so I decided to make a long overdue mini-tutorial on the bouffant. I recommend typing bouffant or beehive into youtube to find a plethora of (those better versed in the art of tutorial making) videos on the subject but hopefully this is somewhat helpful!


1. Grab a chunk of hair from the crown of your head. It can be a ginormous to the bang chunk or a modest bumpit sized chunk as pictured.


2. Maybe you have one of those handy skinny backcombing brushes? I do but I was too lazy to fish it out. Any fine bristle brush should do the job nicely. Grab that brush and backcomb, backcomb, backcomb that chunk of hair. Start at the middle of your hair and "peel" back.


3. Now you look like metal cousin It. Congratulations, you're doing well.


4. Push it back, touch it cos it feels like grandma hair (or my hair for the last ten years).


5. Now pat it down because you don't want to look like a Peggy Bundy halloween costume. Hopefully your bouffant is more even than mine pictured here.


6. If you're having trouble maintaining volume try pinning your hair up with a bobby pin. Kinda like a bumpit, I think? I've never tried one but probably similar.


& here is a quick tutorial on a really tame looking Edwardian do.

1. Backcomb EVERYTHING. LIKE CRAZY.


2. Brush the top layer of hair so it's smooth and twist your hair into a little bun and secure with pins.


3. Now you are Megan Follows in Anne of Green Gables. Kinda.


And last but not least, the half bouffant!

1. You know, backcomb it.


2. Then pin it.

So there you have it! An excellent example of why I don't often do tutorials. :-/

The best way to do your hair is to just get your hands in it! All the hairstyles I know I learned by just fooling around until it worked. When I was nine I surprised my mum by coming downstairs with a perfect 90s french twist (I was going as Madonna to my friends rockstar themed party and left the house with water balloons stuffed in my bodysuit, super cool.) and then heidi braids and french braids and fishtail braids. I spent a lot of time playing with my arse long hair when I wee.

Just for fun, post your pictures here of your hair mid backcomb! Let's start a community of creepy cousin It photos!

Other tutorials: Ragging Hair & Make-up

Saturday, July 15, 2006

On Ragging your Hair

I frequently receive emails with queries on how to rag hair so I thought I would save some time in the long run and give you a mini tutorial on the subject! I apologize that it is merely pictorial and not a video but for those of you unfortunate eyeballs that have borne witness to my past attempts at video tutorials this is truly for the best.

rag 1

Step 1: Start by cutting up a dozen or so cotton rags about 1" thick and 7" to 8" long (depending on your hair length). In middle school I used to wear my hair in white rags to class but stopped when I was asked why I was wrapping my head in toilet paper. I've since made the switch to darker coloured rags - much less like toilet paper and I can't see how dirty they are, which I appreciate.

rag 2

Step 2: Divide your hair into four quarters. Take a small bundle of hair on the top of your first quarter (for tighter curls take smaller bundles).

Photo 40

Step 3: Wrap the ends of your hair around the rag and roll it up.

rag 4

Step 4: Tie your rag in a single knot. Don't double knot as you'll be pulling your hair out with frustration later.

rag 5

Step 5: Congratulations! You have your first rag! Sit back and bask in the knowledge that tomorrow morning you will wake to a glorious set of twists.

rag 6


Step 6: In each quarter do a top rag and a bottom rag (multiple per each quarter). Now you have a head full of balls! Go to sleep and dream of Eric Northman flying outside of your window.


rag 7

Step 7: Unbind your rags to reveal a head of bouncy and exciting curls!

Please feel free to ask any questions regarding hair (ragging or otherwise) in this entry! I will be more than pleased to respond to them in the comments :).
Related Posts with Thumbnails